Everything in this workshop will be done on your own personal server on the 2i2c NMFS workshops JupyterHub. It provides a computer in the cloud that’s set up with all the necessary software that you’ll need for this workshop plus a familiar JupyterLab interface to use that computer.
Login
To login, enter any username you like. It must be unique from other participants, so consider using your full name, your email address, or your GitHub username.
The workshop password will be shared with you on the day of the workshop.
Server options
Once you’re logged in to the workshop JupyterHub, you’ll be presented with a screen like this:
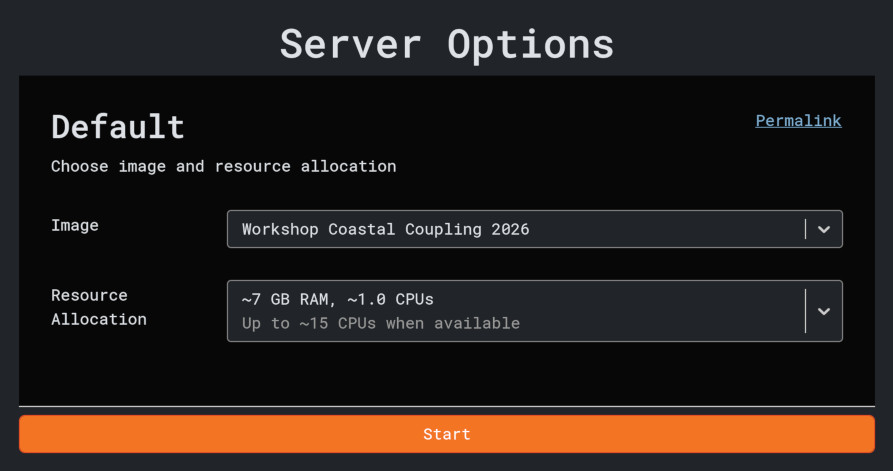
The default settings are correct, you don’t need to change anything.
Some under-the-hood details
For reference, the default image is
ghcr.io/continuous-dems/cudem-jupyter:workshop-coastal-coupling-2026.
You can find the source code for that Docker image on the continuous-dems/docker-jupyter GitHub repository.
You can change it to any Docker image you like using the “Image” dropdown.
Click “Start”
When you click start, JupyterHub will begin creating your personal server. You should see a progress bar like this:

After a few moments, you’ll be presented with the JupyterLab interface.